All Categories
Featured
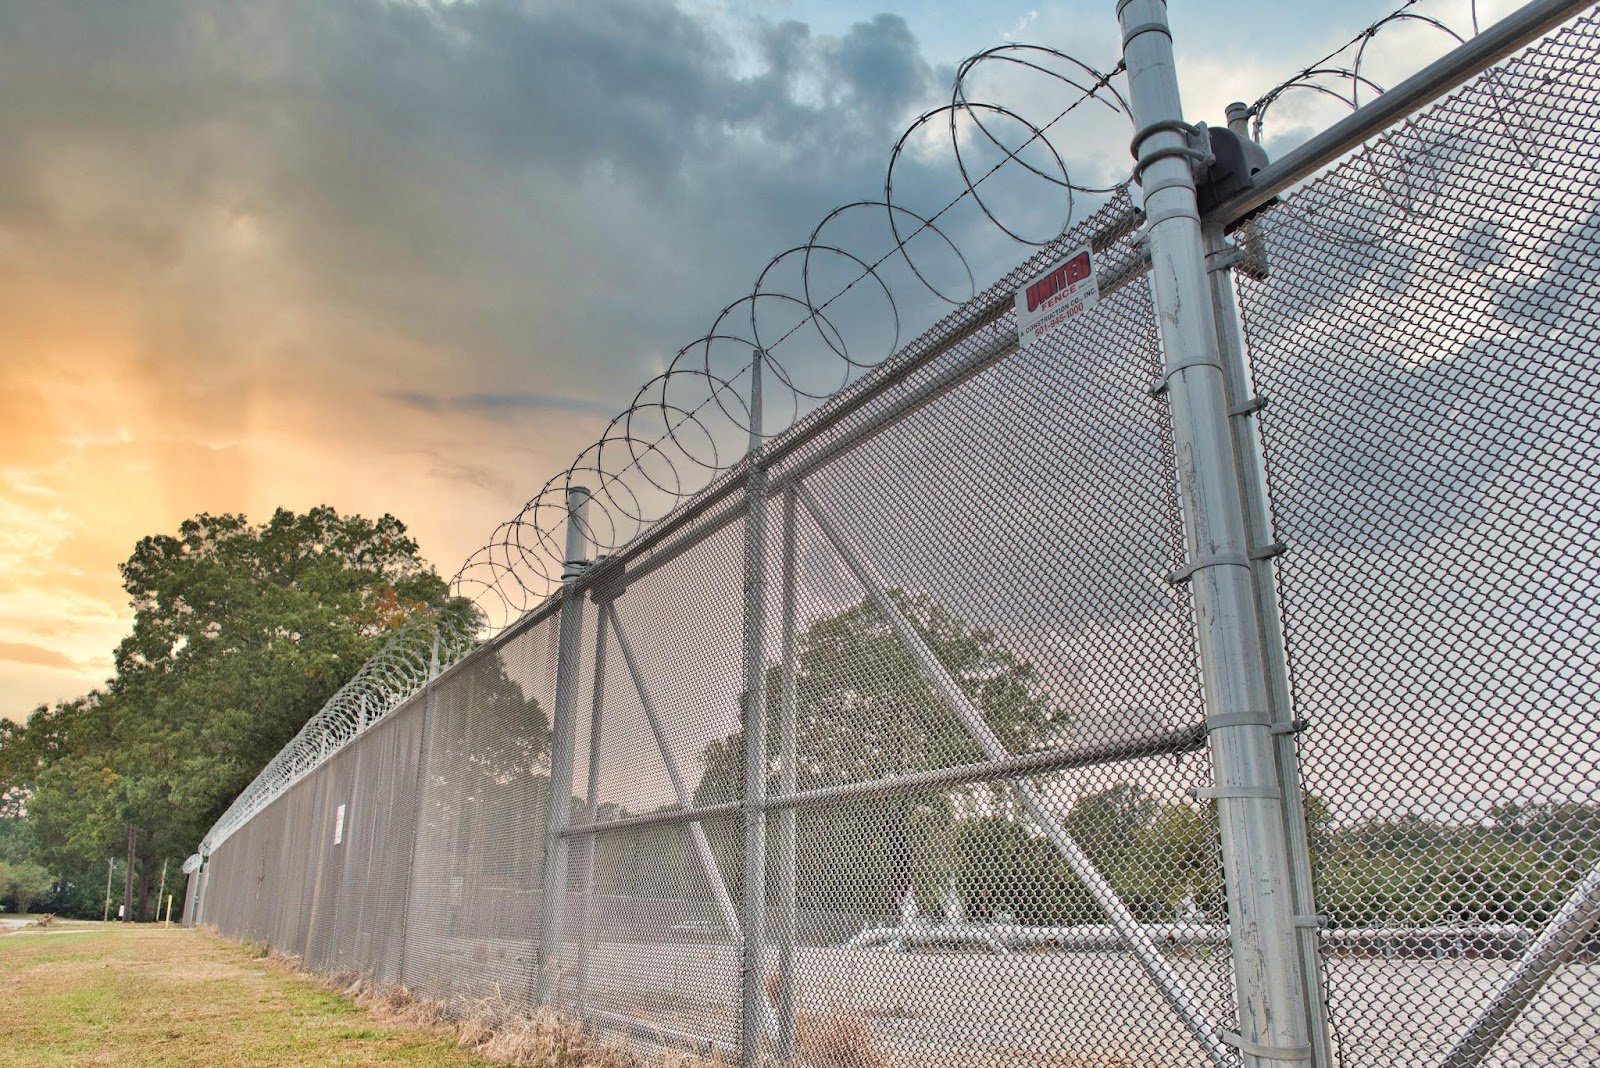
A leaning or damaged fence article can be both an eyesore and a safety issue. Over time, weather condition problems, soil shifts, or even the natural aging of materials can trigger a fencing post to lean or break.
![]()
Shovel. Article opening miner (optional for much deeper holes) Degree. Concrete mix (quick-setting is optimal) Gravel (for water drainage, optional) Sledgehammer or post puller (for stubborn posts) If enhancing the message), a 2x4 support (. Security handwear covers and goggles. Having all these materials prepared will certainly make the work easier and quicker.
Concrete: Among the most reliable ways to secure an article is by pouring concrete around the base. Mix quick-setting concrete according to the instructions on the bag, then put it around the post, ensuring the blog post continues to be straight and degree. You need to load the opening with the concrete combination, leaving regarding 2-3 inches of room on top for a final layer of dirt. Let the concrete set for at least 24-hour to make certain the article is solidly fixed.
Gravel: If you favor an easier, much more versatile option, you can make use of crushed rock around the blog post for much better drain and support. Load the opening with crushed rock, making certain the article is aligned appropriately.
Step 1: Eliminate the old, damaged article. If the blog post is set in concrete, use a post puller or sledgehammer to loosen up the concrete and get rid of the message. Action 2: Once the article is eliminated, dig a brand-new opening if required. The opening should be concerning 2-3 feet deep, depending on the size of your brand-new post and the sort of soil you're working with. Action 3: Insert the new message right into the opening, guaranteeing that it is degree and straightened with the remainder of the fencing articles. Tip 4: Fill up the opening with concrete or gravel as described previously, making sure that the new blog post is safely anchored. 7. Include Support Braces (Optional) If you're worried about the future stability of the blog post, you can include a support to offer added support. Attach a 2x4 or similar piece of wood to the post at an angled angle, securing the various other end to a close-by fencing blog post or the ground. This will certainly stop any kind of future leaning and provide the message more structural honesty while the concrete treatments or crushed rock clears up.
![]()
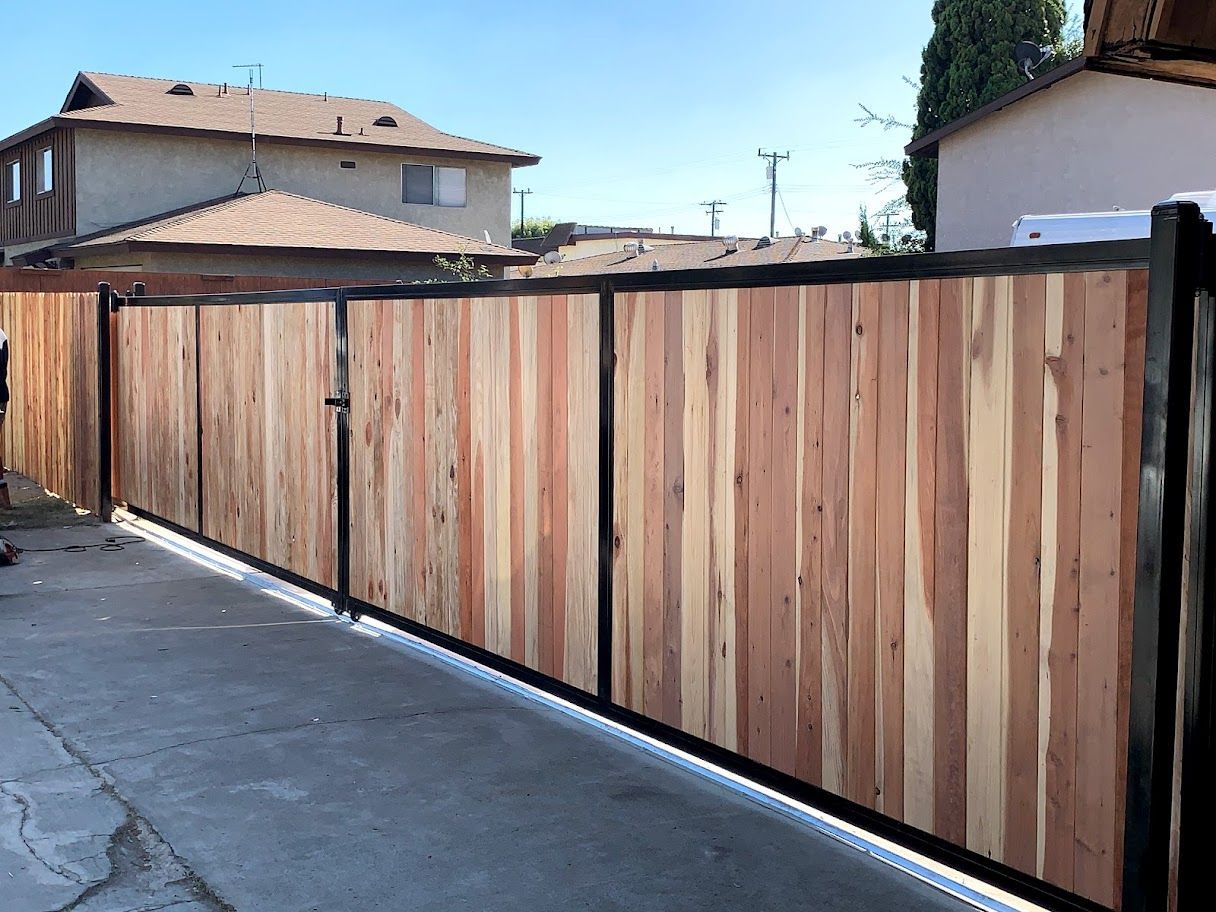
Final thought. Dealing with a leaning or harmed fence post does not need to be a daunting task. By complying with these straightforward steps-- assessing the damages, excavating around the blog post, and strengthening it with concrete or crushed rock-- you can restore your fencing message to its upright placement. If the message is beyond repair service, replacing it with a new one is the finest remedy. With routine maintenance and regular checks, you can guarantee your fencing continues to be safe and secure and sturdy for years to find.
- Examine the Damage. Prior to jumping into repairs, take a great check out the issue. It might just require to be straightened and reinforced if your fence blog post is leaning. If the post is decomposed, fractured, or damaged, it might require changing. Inspect the post for signs of rot, especially at the base. Check the surrounding soil to see if erosion or changing ground is the reason of the leaning.
- Gather Necessary Equipment and Materials. To deal with the article, you'll need a couple of basic tools and products:
Shovel. Article opening miner (optional for much deeper holes) Degree. Concrete mix (quick-setting is optimal) Gravel (for water drainage, optional) Sledgehammer or post puller (for stubborn posts) If enhancing the message), a 2x4 support (. Security handwear covers and goggles. Having all these materials prepared will certainly make the work easier and quicker.
- Dig Around the Base of the Post. To take care of the leaning article, you'll require to subject the base of the article. If the article is deeply embedded in concrete, you might require to dig much deeper or use a post puller to eliminate it.
- Correct the alignment of the Article. When the base of the article is subjected, it's time to straighten it. Use a level to guarantee the blog post is vertical, changing it as required.
- Strengthen the Article. Once the blog post is in the appropriate setting, you'll require to enhance it to stop it from leaning once more. You can do this in a number of methods:
Concrete: Among the most reliable ways to secure an article is by pouring concrete around the base. Mix quick-setting concrete according to the instructions on the bag, then put it around the post, ensuring the blog post continues to be straight and degree. You need to load the opening with the concrete combination, leaving regarding 2-3 inches of room on top for a final layer of dirt. Let the concrete set for at least 24-hour to make certain the article is solidly fixed.
Gravel: If you favor an easier, much more versatile option, you can make use of crushed rock around the blog post for much better drain and support. Load the opening with crushed rock, making certain the article is aligned appropriately.
- If Essential), change a Damaged Article (. Repairing it might not be feasible if the post is significantly decayed or broken. In this situation, replacing the article is your ideal option. Here's how to change a harmed fencing post:
Step 1: Eliminate the old, damaged article. If the blog post is set in concrete, use a post puller or sledgehammer to loosen up the concrete and get rid of the message. Action 2: Once the article is eliminated, dig a brand-new opening if required. The opening should be concerning 2-3 feet deep, depending on the size of your brand-new post and the sort of soil you're working with. Action 3: Insert the new message right into the opening, guaranteeing that it is degree and straightened with the remainder of the fencing articles. Tip 4: Fill up the opening with concrete or gravel as described previously, making sure that the new blog post is safely anchored. 7. Include Support Braces (Optional) If you're worried about the future stability of the blog post, you can include a support to offer added support. Attach a 2x4 or similar piece of wood to the post at an angled angle, securing the various other end to a close-by fencing blog post or the ground. This will certainly stop any kind of future leaning and provide the message more structural honesty while the concrete treatments or crushed rock clears up.
- Look For Future Security. Once the post is repaired or changed, examine it regularly to make certain that it stays safe and upright. Inspect the surrounding soil for erosion or changing, and deal with any type of concerns quickly to avoid more damages.
Final thought. Dealing with a leaning or harmed fence post does not need to be a daunting task. By complying with these straightforward steps-- assessing the damages, excavating around the blog post, and strengthening it with concrete or crushed rock-- you can restore your fencing message to its upright placement. If the message is beyond repair service, replacing it with a new one is the finest remedy. With routine maintenance and regular checks, you can guarantee your fencing continues to be safe and secure and sturdy for years to find.
Latest Posts
Don’t Miss Limited-Time Auto Repair Specials in Chicago at Montclare Auto Repair
Published en
1 min read
Explore Save Big on Car Maintenance with Montclare Auto Repair’s Limited-Time Deals
Published en
1 min read
Explore the Premier Auto Repair Deals in Montclare, Chicago
Published en
1 min read
More
Latest Posts
Don’t Miss Limited-Time Auto Repair Specials in Chicago at Montclare Auto Repair
Published May 28, 25
1 min read
Explore Save Big on Car Maintenance with Montclare Auto Repair’s Limited-Time Deals
Published May 28, 25
1 min read
Explore the Premier Auto Repair Deals in Montclare, Chicago
Published May 25, 25
1 min read