All Categories
Featured
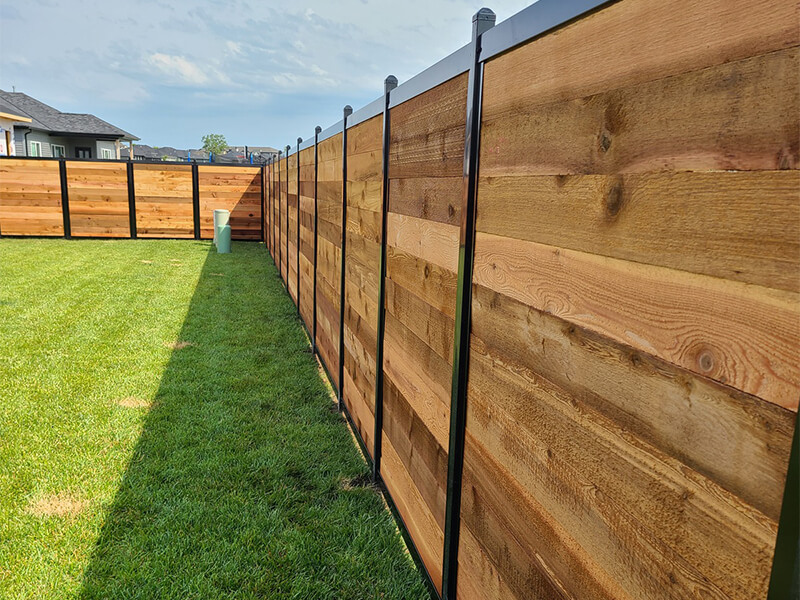
Fencing posts play an essential role in preserving the security and appearance of your fence. When an article leans or ends up being damaged, it's important to deal with the issue without delay to prevent additional deterioration. Right here's a comprehensive overview on exactly how to fix a leaning or damaged fencing post with simplicity.
Action 1: Establish the Reason of the Trouble
Recognizing why your fencing message is leaning or damaged is vital to using the proper solution. Usual reasons consist of:
Soil disintegration or loosened ground
Rot or decay in wood messages
Physical damages from weather condition or influence
![]()
Inadequate installation or inappropriate securing
Determining the reason assists ensure the problem won't recur after repair.
Action 2: Gather Devices and Materials
You'll require the adhering to products:
Shovel or post hole miner
Pierce or hammer
Degree
Gravel or concrete mix
If needed),Substitute blog post (.
Saw (for cutting timber if required)
Article repair work braces or anchors (optional)
Action 3: Fixing a Leaning Fencing Post
If the message is leaning yet not damaged, here's how to repair it:
Dig Around the Base. Utilize a shovel to dig around the leaning blog post, subjecting its base and loosening the soil.
Straighten the Article. Use a level to examine upright alignment. Have a person hold the post upright while you adjust it.
Strengthen the Base
For Gravel: Fill up the opening with crushed rock, tamping it down as you go to guarantee stability.
For Concrete: Pour concrete into the hole around the base of the post, ensuring it fills all voids.
Secure and Set. Allow the concrete to heal for at the very least 24 hours. Once it's solid, the article should continue to be upright.
Step 4: Changing a Damaged Blog Post
![]()
When an article is damaged or rotten, replacement is usually the very best solution.
Get Rid Of the Old Post. Dig out the harmed blog post along with any kind of concrete ground. You might need a pry bar for stubborn pieces.
Prepare the Opening. Tidy out the opening and make it somewhat bigger if required. Make sure the deepness is at the very least one-third the post's total length for stability.
Set Up the New Blog Post. Location the new post in the opening and check alignment with a degree. Protect it briefly with risks or braces.
Protect and fill up. Usage crushed rock or concrete to fill up the opening, pouring or tamping as needed. Allow the material established before connecting fence panels or rails.
Step 5: Protect Against Future Issues.
To maintain your fence articles sturdy and sturdy, follow these ideas:
Use pressure-treated wood or steel articles immune to rot and decay.
Make certain correct water drainage to avoid water from merging at the base.
Inspect your fence each year for signs of wear or instability.
Verdict
Taking care of a leaning or damaged fencing post is a convenient do it yourself job that can conserve you money and time. By recognizing the concern, making use of the ideal materials, and adhering to these actions, you can recover your fence to its initial condition. Normal maintenance and prompt repairs will certainly guarantee your fence continues to be a appealing and strong function of your residential or commercial property for years to find.
Action 1: Establish the Reason of the Trouble
Recognizing why your fencing message is leaning or damaged is vital to using the proper solution. Usual reasons consist of:
Soil disintegration or loosened ground
Rot or decay in wood messages
Physical damages from weather condition or influence

Inadequate installation or inappropriate securing
Determining the reason assists ensure the problem won't recur after repair.
Action 2: Gather Devices and Materials
You'll require the adhering to products:
Shovel or post hole miner
Pierce or hammer
Degree
Gravel or concrete mix
If needed),Substitute blog post (.
Saw (for cutting timber if required)
Article repair work braces or anchors (optional)
Action 3: Fixing a Leaning Fencing Post
If the message is leaning yet not damaged, here's how to repair it:
Dig Around the Base. Utilize a shovel to dig around the leaning blog post, subjecting its base and loosening the soil.
Straighten the Article. Use a level to examine upright alignment. Have a person hold the post upright while you adjust it.
Strengthen the Base
For Gravel: Fill up the opening with crushed rock, tamping it down as you go to guarantee stability.
For Concrete: Pour concrete into the hole around the base of the post, ensuring it fills all voids.
Secure and Set. Allow the concrete to heal for at the very least 24 hours. Once it's solid, the article should continue to be upright.
Step 4: Changing a Damaged Blog Post
When an article is damaged or rotten, replacement is usually the very best solution.
Get Rid Of the Old Post. Dig out the harmed blog post along with any kind of concrete ground. You might need a pry bar for stubborn pieces.
Prepare the Opening. Tidy out the opening and make it somewhat bigger if required. Make sure the deepness is at the very least one-third the post's total length for stability.
Set Up the New Blog Post. Location the new post in the opening and check alignment with a degree. Protect it briefly with risks or braces.
Protect and fill up. Usage crushed rock or concrete to fill up the opening, pouring or tamping as needed. Allow the material established before connecting fence panels or rails.
Step 5: Protect Against Future Issues.
To maintain your fence articles sturdy and sturdy, follow these ideas:
Use pressure-treated wood or steel articles immune to rot and decay.
Make certain correct water drainage to avoid water from merging at the base.
Inspect your fence each year for signs of wear or instability.
Verdict
Taking care of a leaning or damaged fencing post is a convenient do it yourself job that can conserve you money and time. By recognizing the concern, making use of the ideal materials, and adhering to these actions, you can recover your fence to its initial condition. Normal maintenance and prompt repairs will certainly guarantee your fence continues to be a appealing and strong function of your residential or commercial property for years to find.
Latest Posts
Laminate Floor Covering: Style Satisfies Durability at Carpet Interiors Floor & Home
Published Apr 19, 25
2 min read
Your Neighborhood Flooring Professionals in Orland Park, IL
Published Apr 19, 25
1 min read
Full Circle Strategic Marketing - Crush Google Rankings with Battle-Tested Search Engine Strategies
Published Apr 19, 25
2 min read
More
Latest Posts
Laminate Floor Covering: Style Satisfies Durability at Carpet Interiors Floor & Home
Published Apr 19, 25
2 min read
Your Neighborhood Flooring Professionals in Orland Park, IL
Published Apr 19, 25
1 min read
Full Circle Strategic Marketing - Crush Google Rankings with Battle-Tested Search Engine Strategies
Published Apr 19, 25
2 min read